Google Meet – Staff
Hangouts Meet is Google’s video conferencing tool that also allows you to share your screen with attendees.
Hangouts Meet is Google’s video conferencing tool that enables you to to talk face to face and share your screen with others. Lesson content can be shared in a live video stream with groups ranging from a few people up to hundreds of users. You can use it on the web at meet.google.com, on your Android device and on iOS devices. You can either just jump straight into a Video Meeting or schedule one for a later date and time in Google Calendar.
One of the best features of Hangouts Meet is it’s ability to provide live captions/subtitles which can be turned on by anyone who needs it.
We’ve written up a quick run through of Hangouts Meet and how to get started below.
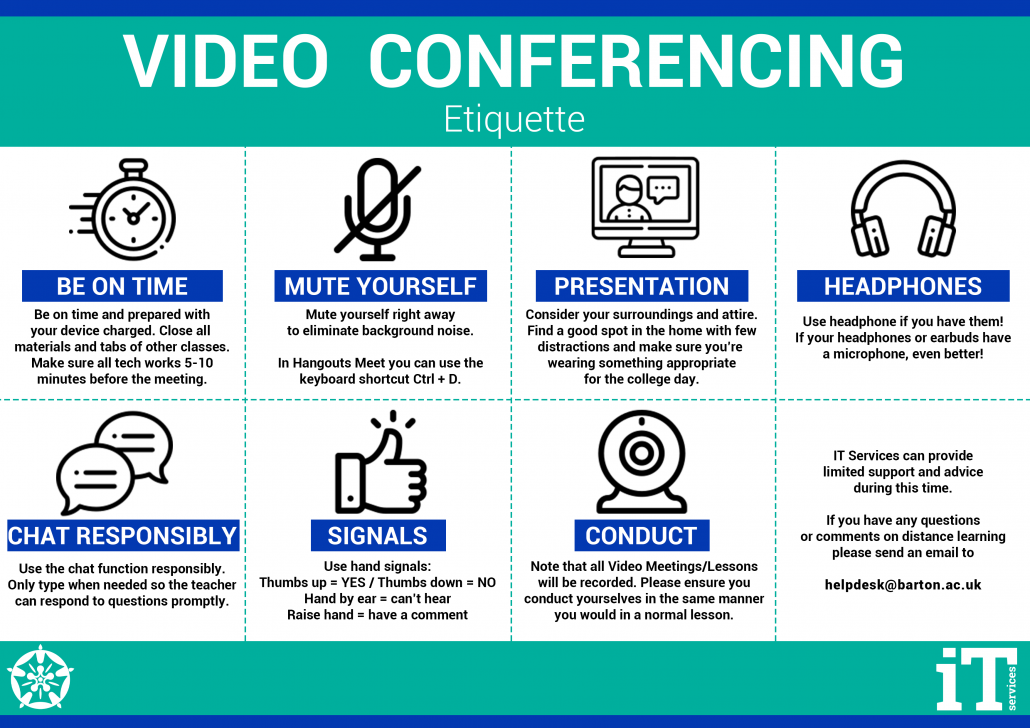
STUDENTS ARE ASKED TO FOLLOW THIS VIDEO CONFERENCING ETIQUETTE GUIDE TO ENSURE YOU CAN TEACH WITHOUT INTERUPTION.
Starting a video meeting
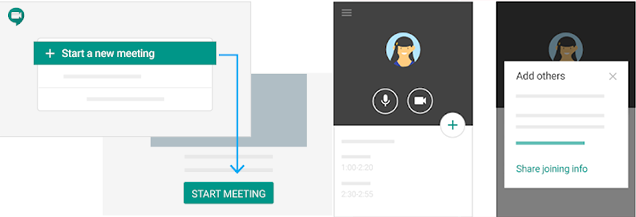
You can start a new session by opening Hangouts Meet in the web or in the app and clicking Start a new meeting or pressing the Plus + icon.
In both methods, once you’ve set up the meeting, you’ll then be offered the chance to invite people to join you.
Scheduling a video meeting
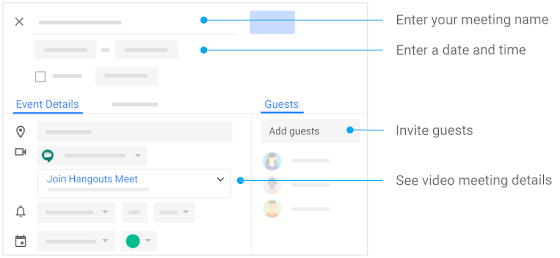
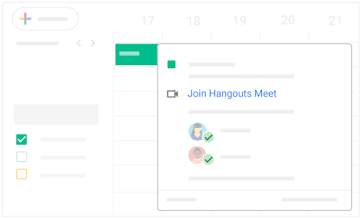
To schedule a meeting for the future, simply head to Calendar and create an event then click on Add Conferencing and it will automatically create a Hangouts Meet session ready for the set date and time.
You can then invite guests to the event and they’ll all receive the information to join the video call.
Joining a video meeting
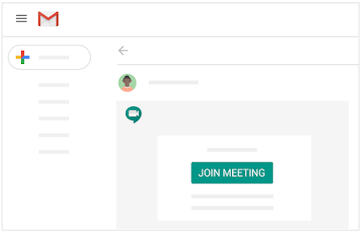
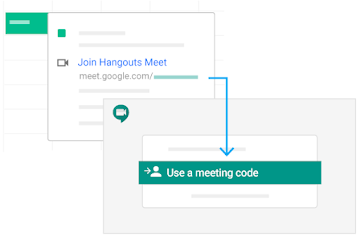
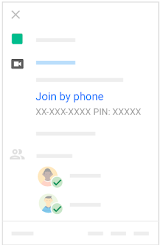
Joining a video meeting can be done in a number of different ways depending on how it’s been set up. You can click the link in your calendar appointment, or your meeting text or email. You can type in the meeting code on the Hangouts Web website or even dial in to the meeting on a physical phone.
Adding people to a meeting
If you need to add more people to a meeting after the initial setup that is easy to do using one of two methods.
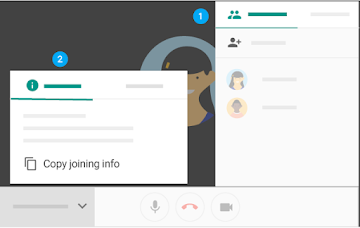
Option 1 – Click the People tab in the top right then Add People and enter their email addresses.
Option 2 – Click the meeting name in the bottom left corner of the screen and copy the joining info so you can then paste that in to your own email to whoever you want.
You can find more information here including how to remove people.
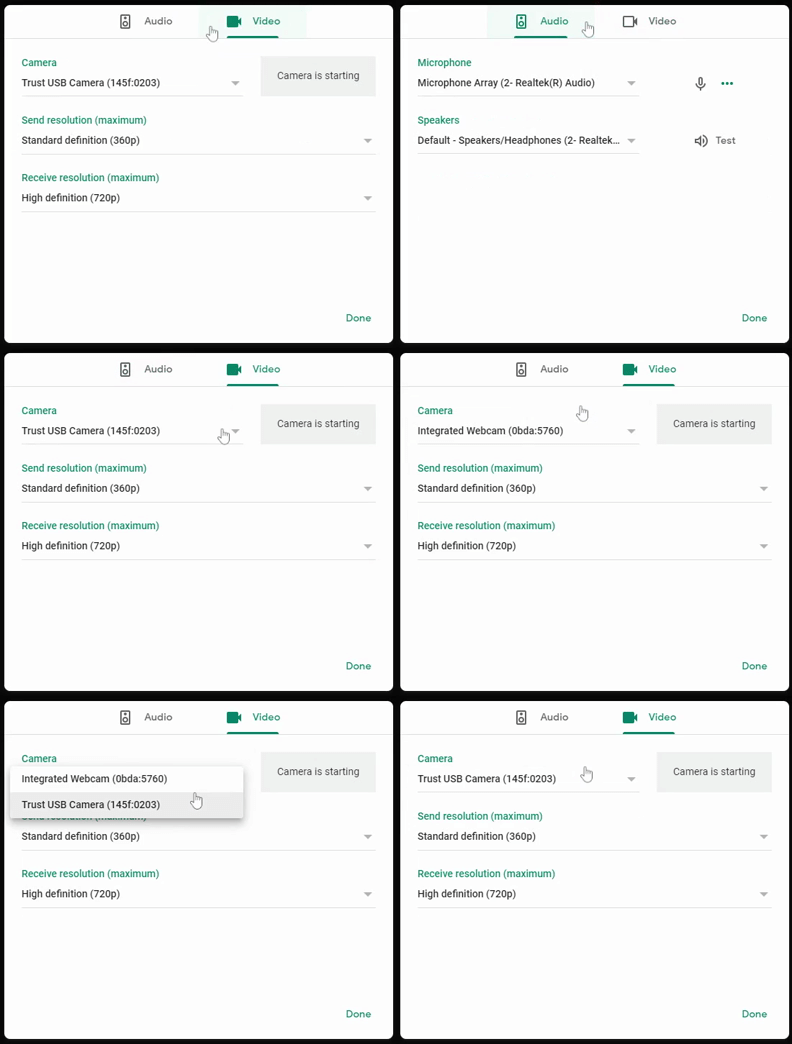
Change your computer’s Video & Audio settings
Meet will pick up your default camera, speaker and microphone which in most cases will be the only ones you have however if you plug in alternative devices to use instead, it should then automatically pick these up instead of any built-in device.
More information can be found here and steps for changing the settings within the mobile apps can be found here.

Sharing your screen
Sharing or ‘Presenting’ your screen is possible on computers and iOS devices but not currently supported on Android devices. On the computer you can opt to share your whole screen or just an individual window whereas on the iOS device you can only share your whole screen.
To present on your computer just look for the Present now button in the bottom right of the meeting window then select if you want to share your entire screen or a window. Sharing just a window will allow you to share just a presentation or document whilst allowing you to continue working on your computer.
More information including how to take over presenting from someone else can be found here.





Leave a Reply
Want to join the discussion?Feel free to contribute!