Do you often stay up late scrolling your phone? Hit the snooze button too much? If you have trouble putting your phone down at night, or suffer from insomnia and want to attain a healthy, regular sleep schedule. SleepTown is your best solution.
It’s made by the same team who made Forest, one of our recommended focus apps so you can pair the two together and really focus your time and energy on things other than your phone.
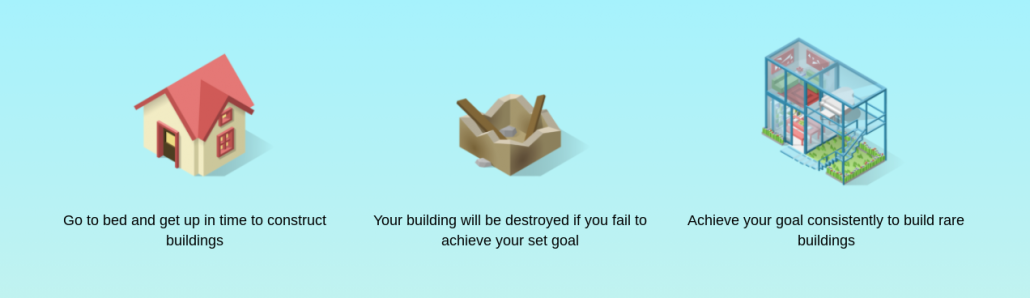
How it works: 3 steps to a healthy sleep schedule
Set your own challenging bedtime and wake-up goal.
Open the SleepTown app before your bedtime goal and start constructing a building.
Wake up before your wake-up goal, shake your phone to clear your mind, and see which building you got. Every morning the building is a surprise that will motivate you to wake up!
SleepTown Can Help You:
Beat your phone addiction and get more sleep
Maintain regular sleep hours between 4-10 hours a day
Construct amazing buildings by achieving your bedtime and wake-up goals
Wake up to a reward every day – your new building!
View your “SleepTown” and all your sleep statistics in the town page
Night shift mode helps reduce blue light
Head to this link to take a look at a video of how it works.
approved by the Organisation for the Review of Care and Health Applications (ORCHA) – read the review here
There’s no need to sign up, and the app does not collect any personal user data (similar to an e-book). The app also doesn’t contain any advertising.
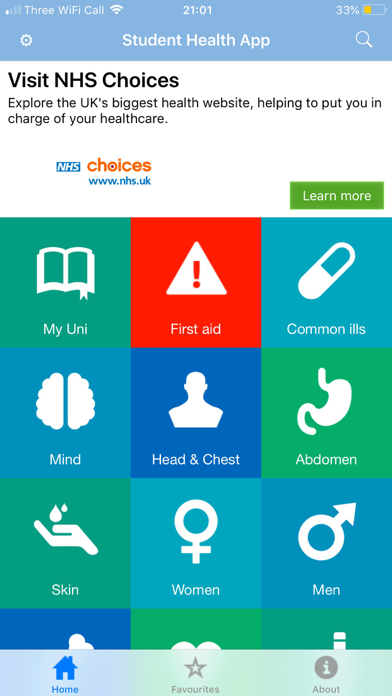
In partnership with the University of Bristol Students’ Health Service, the app has been co-created by medical doctors and students and is certified by the NHS England Information Standard as a source of clear, reliable and relevant health information.
https://my.barton.ac.uk/digital/wp-content/uploads/sites/4/2020/04/StudentHealthMatters.png332712Will Taylorhttps://my.barton.ac.uk/wp-content/uploads/2018/06/LOGO-BP-COLOUR-1030x273.jpgWill Taylor2020-04-09 10:12:362020-04-09 10:12:38Student Health
News, social media, shopping, videos…these apps and websites are engineered to monopolize your time and attention. With Freedom, you can easily turn off the distractions that harm your productivity and wellbeing. Freedom gives you control.
If you need to focus on your work, break a habit, or simply improve your relationship with technology, Freedom can help. By blocking distracting websites and apps, you’ll be more focused and productive. You’ll develop healthier, more intentional digital habits, that give you control over your time and attention.
Freedom is used by millions of people each day and includes companies like Google, Apple & Microsoft as well as MIT and Harvard Universities as their customers.
Why do I need to block apps or the internet?
You lose 23 minutes each time
Studies show that every time you check email, a social feed, or respond to a notification, your mind requires 23 minutes of re-focus time to get back on task
Multitasking is 40% less productive
While we may feel incredibly productive jumping around putting out a lot of fires, we’re actually 40% less productive when multitasking. This links back to re-focus time too.
Willpower is a finite resource
Ignoring distractions takes effort that results in a temporary depletion of willpower. While we try to ignore it, the digital world is designed to win the battle.
Distractions are habit-forming
It’s easy to say “just turn it off” or “just quit it”, but research shows that it’s not easy to do. Our brains crave the rewards triggered by our digital distractions.
Free Features
Block Websites
Whether it’s Facebook, BBC News, or YouTube, block an unlimited number of distracting websites so you can focus on what matters.
Block Apps
Spending too much time on apps? Freedom lets you block time-wasting apps—from email clients to your favourite addicting games.
Block the Internet
When you need a break or a focus boost, block the whole internet with the click of a button. Save yourself from any distraction.
Block All Except
Create custom whitelists. Block all websites except for the ones you need to access. Keep access to websites you use for research for example.
Additional Browser Extensions
Freedom have built a number of free browser extensions that complement the main app. These extensions are currently supported on Chrome, Firefox, Edge, and Opera. You can find the links to these extensions at the bottom of their downloads page.
Pause
Pause challenges you to momentarily pause and reflect before visiting a distracting website.
Limit
Limit allows you to limit your time spent on distracting websites.
Insight
Insight shows you where you are spending your time online.
Cove allows you to create music to capture your mood and express how you feel.
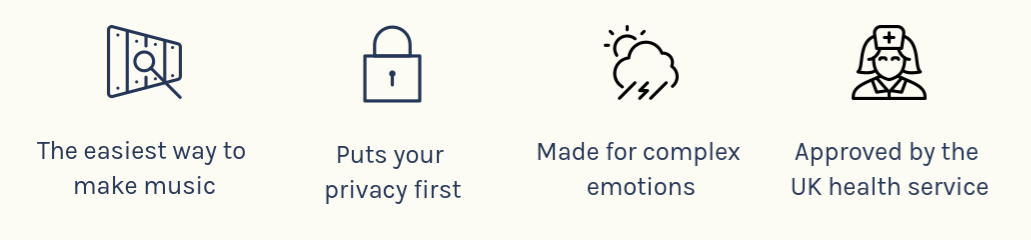
Instead of words, create music to reflect emotions like joy, sadness, calm and anger. You can store your music in a personal journal, or send them to someone and let the music do the talking. Expressing your emotions can be hard. It can be easier if you make music! Cove is trusted by doctors and therapists as a safe and secure way to look after your mental health.
The app is built on the principles of musical theory; it has 6 harmonically evolving sounds to get you started and you can build on these and play around with the tones, without having to know the ins and outs of music.
There are no right or wrong sounds for people to use or create, the aim is that people create pieces of music than resonate emotionally with them.
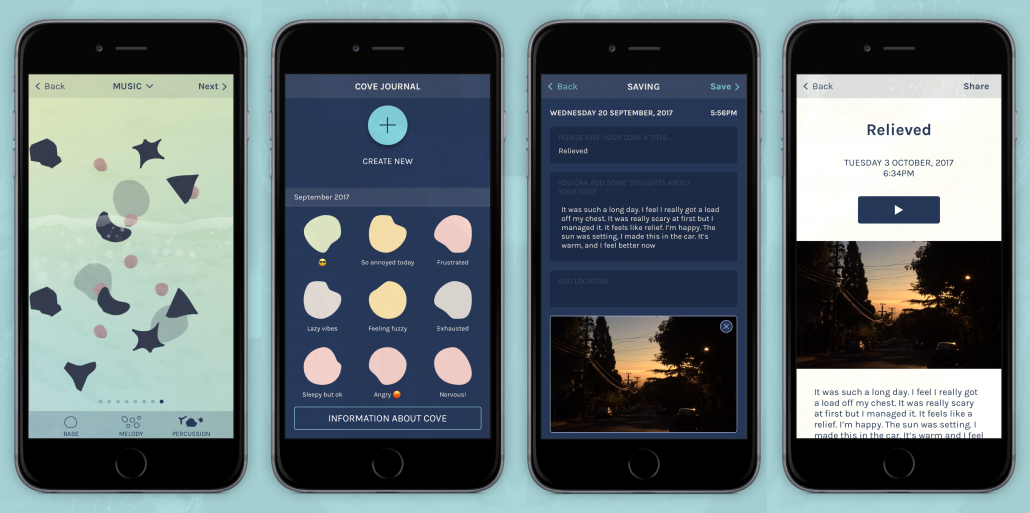
When you start, you choose from four base moods – playful, longing, calm, struggling. These serve as the basis for your piece of music. The display looks like water, so when you’re adding to your tune by tapping the screen, your taps appear as stones in the water – creating your own personal cove (aha).
How does it work?
Cove is like a mood journal, except instead of using words to express how you feel, you use music.
To create music, choose from six different moods – calm, struggling, longing, playful, clouded and gentle.
Once you’ve selected your mood, you can then easily add and remove different musical effects.
Store your music in a private journal to revisit at any time. Add some personal thoughts and tags.
NOTE – Cove is not a substitute for professional therapy, and not suitable for those experiencing severe distress or suicidal thoughts. If you find yourself really struggling, in the app there are helpful links to organisations who can help you. Don’t be afraid to reach out to someone.
Blogger is Google’s free blogging service, probably the most famous blog service in the world. Whether you’d like to share your knowledge, experiences or the latest news, create a unique and beautiful blog for free.
It’s so simple to get started with Blogger, follow the steps below to start your first blog. Before you do get started though, it’s worth noting that Blogger will only work in Chrome, Firefox, Opera or Safari browsers so if you’re using Internet Explorer or Microsoft Edge, you’ll need to get yourself one of the other browsers listed here. Also, your blog can either be Public for anyone in the world to see or Private where you can limit it to a maximum of 100 people to view it. If you want more than 100 people to be able to view it but don’t want it to be public to the world, it might be best creating a Google Site and adapting it into a blog instead.
If you are creating a blog for a personal reason, it might be best to create it using a personal Google account as you may lose access to your blog when you leave Barton.
This can be anything you want it to be, as long as no one has used that same URL before.
Choose a template.
Click Create blog.
That’s your blog created and ready for content!
Blog Theme
A plain blog might look a bit boring, there are a couple of ways you can change the design of your blog to make it look a bit better. Blogger provides a range of pre-made template themes for you to choose from. Follow the steps below to take a look:
In the left menu, click Theme.
Click the theme you want to use.
Just below the theme, click Apply to Blog.
Now you’ve picked the theme, you can customize it further by simply selecting the Customize option at the top of the page. From here you can change the background, colours, sizings and all sorts of settings. Once happy, click Apply to Blog in the top right corner, to make your changes live. Click Back to Blogger to go back to the homepage.
Layout & Gadgets
The layout of your blog might be something you want to change once you’ve got a bit more content on your blog, it can be hard to decide on a layout before you start adding content.
Gadgets are extra little bits to add to your blog, you can add lists, individual images, links to Wikipedia articles and more!
To start with both Layouts & Gadgets, just click the Layout menu on the left hand side.
In here you can move the different areas around and find a layout that works best for you. To add a gadget to a certain location click the Add Gadget button and then take a look through the list to find one you want.
Pages
You can add pages to keep information separate, such as an ‘About’ page or a ‘Contact’ page. There is no limit to the number of pages you can have on one blog. Before they will show on your Blog, you will need to add the Pages Gadget to allow users to navigate around the blog. Follow the steps below to add the Pages Gadget:
In the left menu, click Layout.
In the section you want your pages to show, click Add a Gadget.
In the window, next to “Pages”, click Add .
Set your settings and click Save.
At the top right, click Save arrangement.
Adding, editing or removing a page
In the left menu, click Pages.
Create a new page: Click New page. Enter a page title and other information and click Save, Preview, or Publish.
Edit a page: Under the page you want to edit, click Edit. Update your page and click Save, Preview, or Publish.
Delete a page: Under the page you want to remove, click Delete then Ok.
Link to external site
You can get a link on the Pages Gadget to link an external site, such as a YouTube channel or other website.
In the left menu, click Layout.
In the “Pages” section, click Edit .
Under “Pages to show,” click + Add external link.
Enter the page title and URL and click Save Link.
Select the pages to show
In the left menu, click Layout.
In the “Pages” section, click Edit .
Select the pages you wish to show.
Click Save.
At the top right, click Save arrangement.
Posts & Content
Write a new post
Click New Post.
Create the post.
Optional: To see how your post will look, click Preview.
To save your post without publishing it, click Save. To publish your post, click Publish.
Labels
Labels can help you organize your posts to make it easier to find posts of a similar subject. You can create a label for anything, such as a month or year or just any word.
You can add more than one label to a post.
In your dashboard, you can find your labels next to the title.
Your readers can find your labels in your posts and use them to filter your content.
Add labels to your posts (Optional)
To open the editor view, click an existing post or click New post.
Click the From YouTube tab to search YouTube for a video or paste a YouTube link in.
Access to your blog
You can control who can edit your blog, and who can read it. It’s worth noting that your blog can either be Public for anyone in the world to see or Private where you can limit it to a maximum of 100 people to view it. If you want more than 100 people to be able to view it but don’t want it to be public to the world, it might be best creating a Google Site and adapting it into a blog instead.
Let others edit your blog
In the left menu, click Settings Basic.
Under “Permissions,” find “Blog Authors” and click Add authors.
Enter the email address of the person you want to add.
Click Invite authors.
Who can see your blog
In the left menu, click Settings Basic.
Under “Permissions,” find “Blog Readers” and click Edit.
Select Public, Private – Only blog authors, or Private – Only these readers.
Click Save changes.
After they accept the invitation, they’ll be listed as an author. You can add up to 100 total members (authors, administrators, or readers) to your blog.
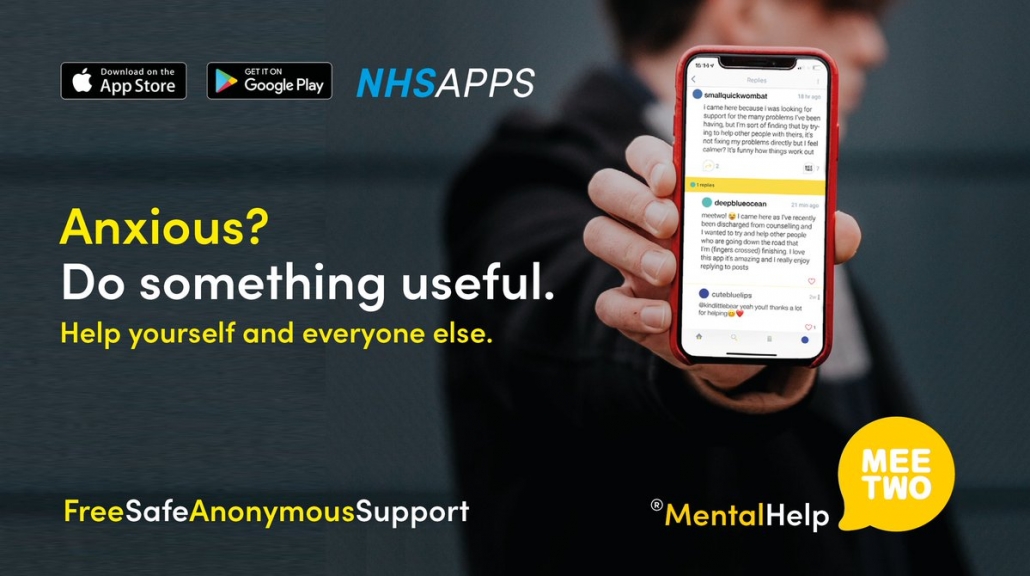
MeeTwo provides a safe and secure forum for teenagers wanting to discuss any issue affecting their lives.
If you’ve ever wanted to be able to ask difficult questions without the embarrassment that comes attached then Mee Two is the ideal solution. It’s recommended by the NHS in their Apps Library.
Mee Two is a completely free app available on the app store and google play that enables you to ask 100% anonymous questions and talk about difficult topics with people who have had similar experiences. Basically any question you would rather not ask out loud you can ask here.
All posts and their replies are checked so there is no chance of any bullying or harassment happening over your experiences.
MeeTwo has been designed by young people for young people. It has the support of experts and schools across the UK.
Please remember MeeTwo cannot provide medical or crisis support.
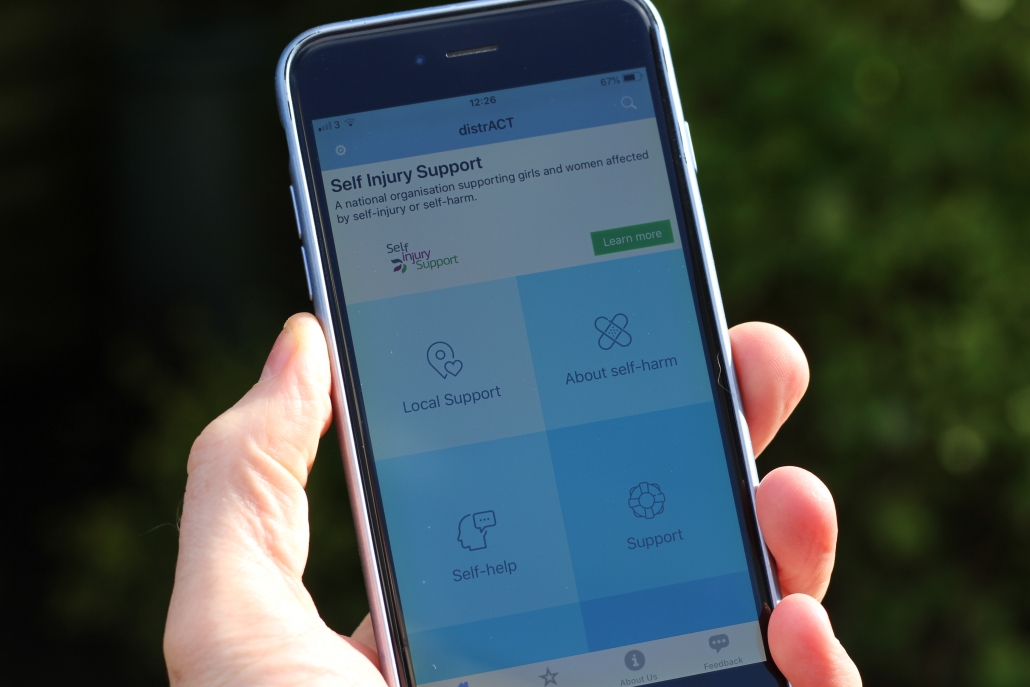
DistrACT gives you easy, quick and discreet access to information and advice about self-harm and suicidal thoughts.
The content has been created by doctors and experts in self-harming and suicide prevention. DistrACT also provides emergency contact numbers of the best people to call and talk through your symptoms. It is available from the app store and google play for absolutely no cost.
DistrACT won the British Medical Association ‘Patient Information Award 2019’ for wellbeing. It’s recommended by the NHS in their Apps Library.
The app offers total privacy and can be used offline to:
find out about self-harm and suicidal thoughts
discover self-help techniques and safer alternatives to self-harms
explore the ‘chill-zone’ with links to resources that can make you feel better, such as films, books and online videos
access details about available services and support – all in one place
know what do do in a crisis or emergency
Users can feel safe and secure because no sign-up is required, and the app does not collect any personal data.
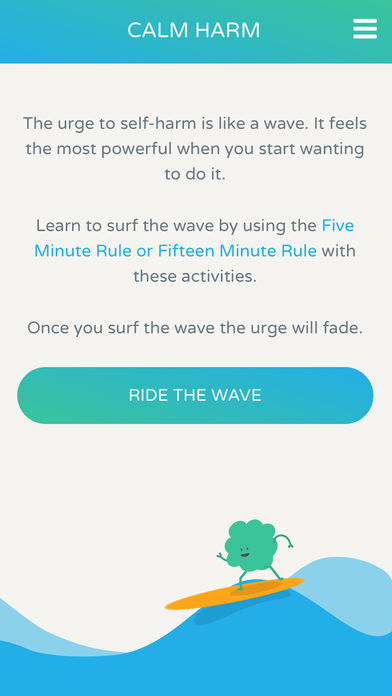
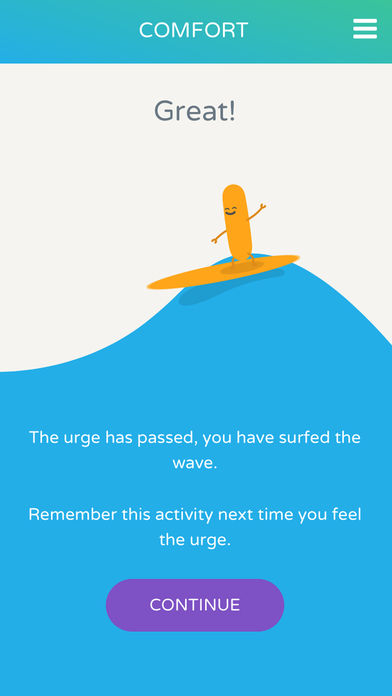
Calm Harm is an app designed to help people resist or manage the urge to self-harm. It’s private and password protected.
Calm Harm is based on the principles of dialectical behaviour therapy (DBT). DBT is a type of talking therapy that’s often effective in people with mood disorders. It’s recommended by the NHS in their Apps Library.
The app provides tasks that encourage users to distract themselves from urges to self-harm and help manage their “emotional mind” in a more positive way.
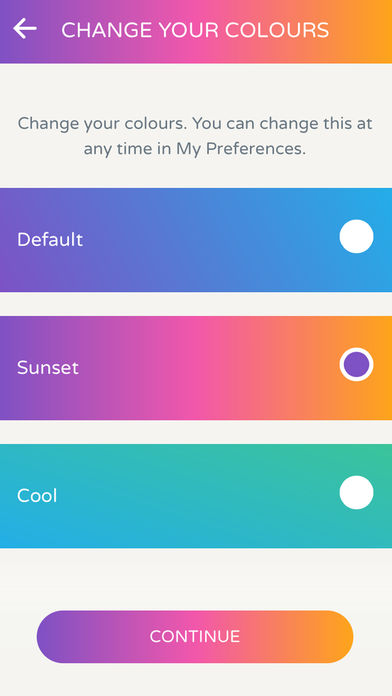
You can personalise it if you wish, by choosing the background colour theme and deciding on whether you would like some company using a variety of friendly characters.
The app then provides you with four categories of tasks to help you surf the urge. ‘Distract’ helps in learning self-control; ‘Comfort’ helps you care rather than harm; ‘Express yourself’ gets those feelings out in a different way and ‘Release’ provides safe alternatives to self-injury.
There is also a ‘Breathe’ category to help calm and get back in control.
You can do the activities for either blocks of five minutes or fifteen minutes with a countdown for each minute. You will be able to track your progress and notice change*.
Journey allows you to keep a secret diary or a private journal of your life journey. Maybe you want to remember what you did on holiday, with a location and photo. Or maybe you want to just write your thoughts to get some headspace. Journey.Cloud is recommended by our Learning Support team.
If Journey sounds good to you, have a look at the short video below to see how it works.
Notion is like a one stop app for college life. It allows you to take and share notes, create an agenda, build a reading list, a to-do list and more. Plus, it’s free when you sign up with your college email address.
Notion for students is a free tool that lets you write, plan, collaborate and get organized in the one app. It’s designed to boost your personal productivity by reducing the amount of different apps you need to use for your work. Even if you still need to use Google Docs for college work for example, you can embed the Doc straight in to Notion to get as close to the one app lifestyle as possible.
Don’t just take my word for it, Ali Abdaal a Cambridge University medicine graduate and now junior doctor has made a useful review video that takes you through all the features of Notion as well as a few tips and tricks to get the most out of it.
They also host a series of talks with pioneers of the computer world, including one of the original members of the Apple Macintosh development team and the man who coined the term Hypertext which is the base of the hyperlinks we use today. Watch their Tools & Craft sessions.