Screencastify is the #1 screen recorder for Google Chrome. Capture, edit and share videos in seconds.


Screencastify is a Google Chrome extension that is available from the Chrome web store. It enables you to create screencasts and videos on a Windows, Mac, or Chromebook. In addition to recording your screen, it combines annotation tools, record from your microphone for voice over, and you can record yourself with a picture-in-picture overlay of your webcam. Everything you record is saved to Google Drive so you can easily share the video with students, embed it on a Google Site, or upload to YouTube.

You can use Screencastify to create recorded lessons, tutorials, or giving feedback. It is often quicker and easier to convey how to do something in a video, rather than writing a long list of steps. To see an example of Screencastify in action view my video below.

Read more

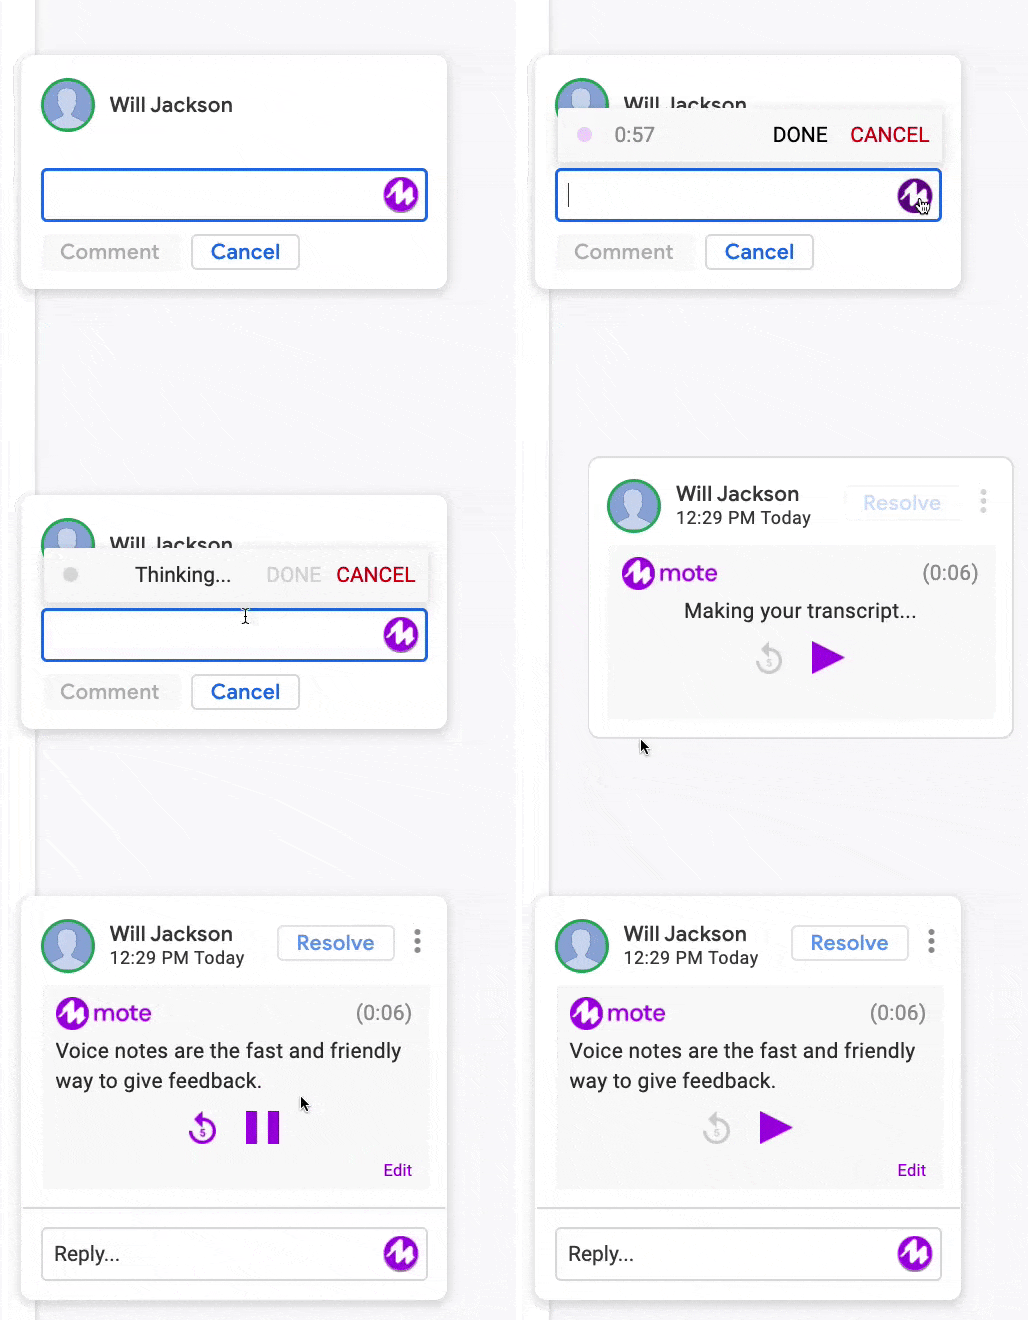
Mote lets you record a quick comment in Google Docs. It’s tagline is; the faster, friendlier way to comment on docs.


The mote Chrome extension makes it easy to add voice note feedback for students within Google Docs, Google Classroom, Slides and Sheets. You can quickly add a comment in simple terms without having to worry about how it may come across in the written word.

mote’s mission is to make document collaboration faster, friendlier and more powerful.

Online Courses

CourseTime to completeBenefitsWhat you’ll learn
Mote Certified Educator20 minutesBadge and certificateBecome familiar with all of Mote’s features. You just need to get at least 12 out of 15 questions right and there is video help too.

Google Jamboard is a digital whiteboard app that allows you to collaborate with others and join together your ideas.


Jamboard is Google’s answer to an Interactive Whiteboard, originally designed and marketed with a portable 55-inch, 4k display. Google have since released Android and iOS apps for it, perfect for touchscreen Chromebooks here at Barton! Even if you don’t have a touchscreen device you can still connect to a Jam on your web browser at jamboard.google.com

It is connected to G Suite so you can log in with your College credentials as normal giving you the ability to present, edit and share files with Google services like Drive, Sheets, and Slides.

Read more

The Google Classroom Android App is the best companion app for the Google Classroom system.


Read more

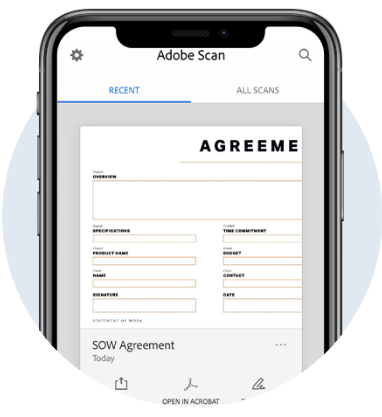
Adobe Scan is a mobile document scanner that can turn anything into an Adobe PDF.


With Adobe Scan, easily capture and convert documents, forms, business cards, and whiteboards into high-quality Adobe PDFs. And with different capture modes, you can ensure that you capture the clearest scan every time.

Fast and easy signatures and form filling.

Eliminate the hassle of finding a printer, filling a form by hand, and scanning it again. Use Adobe Scan to turn paper forms into interactive digital documents you can easily fill out, sign and share.

Intelligently cleaner and clearer scans.

Using Adobe Sensei, Adobes powerful AI, Adobe Scan identifies and sharpens handwritten or printed text, while removing elements you don’t want, like glare and shadow.

Share scans from anywhere.

Scans are stored in Adobe Document Cloud so they’re easy to access, share, or upload directly into emails.


Using Adobe Scan and Google Classroom

The video below will quide you through installing the app and uploading your first scan to Google Drive, which you’ll then be able to upload to Google Classroom.

We’ll take you through the steps below too:

  1. Open the Adobe Scan app.
  2. Press the Camera icon.
  3. Place what you want to scan in view of your device camera.
  4. Wait while the app detects the page and content, when it’s done that it will automatically take an image of it.
  5. When the image has been taken, you can drag the borders around the page to more accurately outline a page.
  6. Once happy with the image, press Continue.
  7. Repeat steps 3-6 until you have scanned everything that you need to.
  8. Press the small image of your last scan in the bottom right corner.
  9. Scroll through the pages and make any visual adjustments you wish.
    1. You can crop out unwanted bits, reorder the pages or change the coloring to make it easier to read. You can also use the Cleanup feature to remove unwanted blemishes in the image.
  10. Once happy, press Save PDF.
  11. The app will now prepare the final PDF for you.

Now to upload this to Google Drive.

  1. On the screen with your PDF, press Share.
  2. Press Share a Copy.
  3. Locate and press Save to Drive or Google Drive.
  4. Enter a name for the file, select which account to save it to and where to save it then press Save.

Now to add to Google Classroom.

  1. Open the class you want to upload this to in Classroom.
  2. Locate and open your assignment.
  3. Click on Add or create.
  4. Select Google Drive.
  5. Locate and select your new PDF.
    1. If you have just uploaded it, you should find it easily in the Recent tab.
  6. Click Add.
  7. Now, if that’s all you need to do for that assignment you can hand it in.

Google Meet is Google’s video conferencing tool that also allows you to share your screen with attendees.

Google Meet is Google’s video conferencing tool that enables you to to talk face to face and share your screen with others. Lesson content can be shared in a live video stream with groups ranging from a few people up to hundreds of users. You can use it on the web at meet.google.com, on your Android device and on iOS devices. You can either just jump straight into a Video Meeting or schedule one for a later date and time in Google Calendar.

One of the best features of Google Meet is its ability to provide live captions/subtitles which can be turned on by anyone who needs it.

We’ve written up a quick run through of Google Meet and how to get started below.

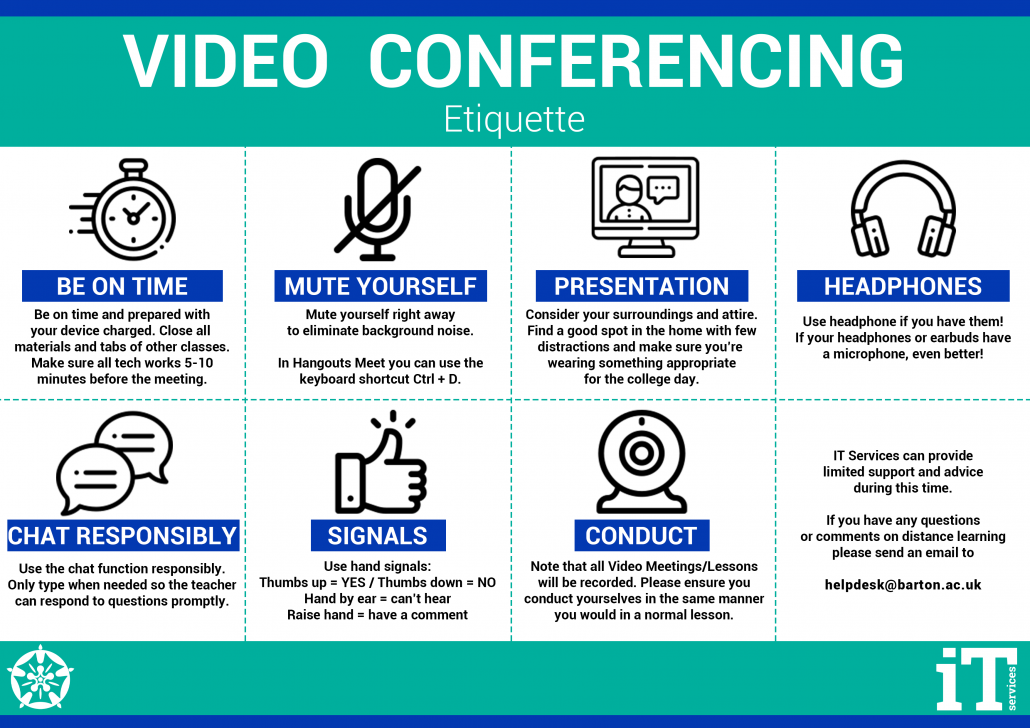
STUDENTS ARE ASKED TO FOLLOW THIS VIDEO CONFERENCING ETIQUETTE GUIDE TO ENSURE YOU CAN TEACH WITHOUT INTERRUPTION.


Google Meet Set Up

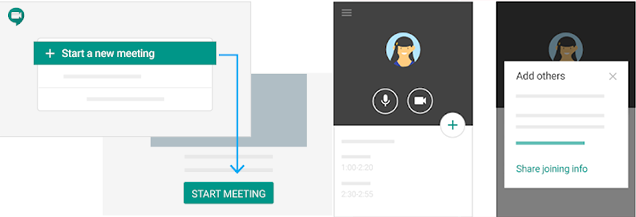
Starting a Starting & adding people

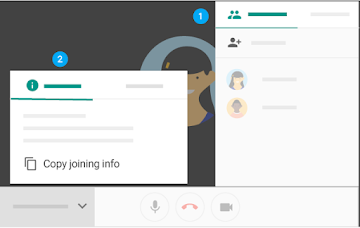
Follow the guide below on how to set a Google Meet instantly, how to add others whilst in the meet.

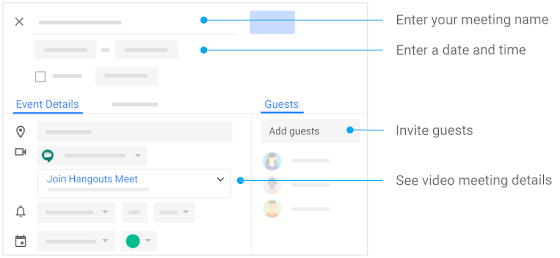
Scheduling a video meeting and inviting guests

Follow the guide below on how to set this up and how to invite guests ahead of time. You will need Google Calendar.

Setting up Google Meet in Google Classroom

Follow the guide on the left on how to set this up for students to join in Google Classroom


Joining a video meeting

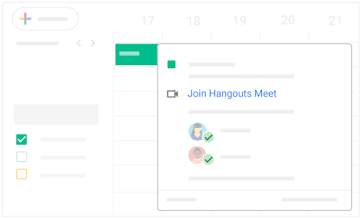
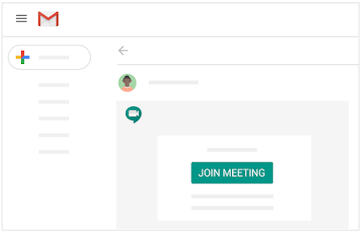
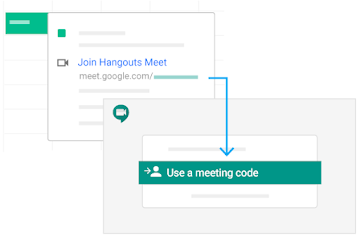
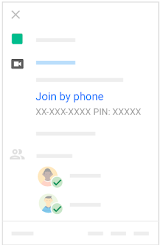
Joining a video meeting can be done in a number of different ways depending on how it’s been set up. You can click the link in your calendar appointment, or your meeting text or email. You can type in the meeting code on the Google Meet site or join via a smartphone using the Google Meet App

Calendar Appointment
Email Link
Meeting Code
Mobile app

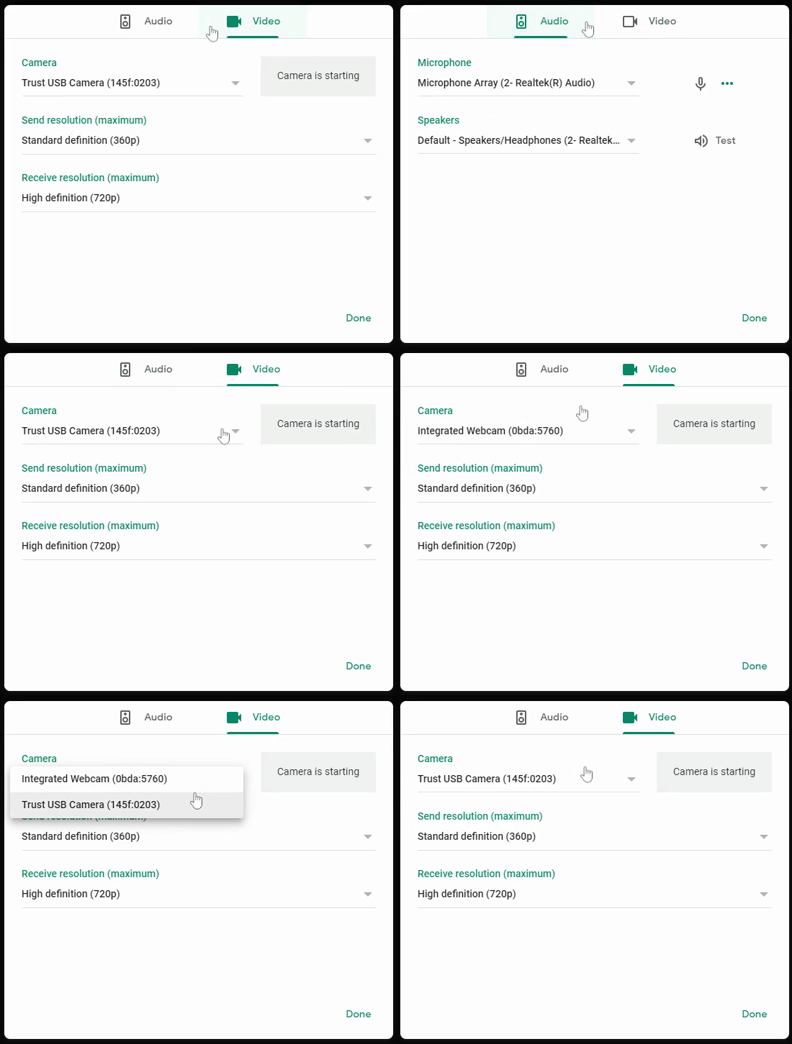
Change your computer’s Video & Audio settings

Meet will pick up your default camera, speaker and microphone which in most cases will be the only ones you have however if you plug in alternative devices to use instead, it should then automatically pick these up instead of any built-in device.

More information can be found here and steps for changing the settings within the mobile apps can be found here.


Sharing your screen

Sharing or ‘Presenting’ your screen is possible on computers and iOS devices but not currently supported on Android devices. On the computer you can opt to share your whole screen or just an individual window whereas on the iOS device you can only share your whole screen.

To present on your computer just look for the Present now button in the bottom right of the meeting window then select if you want to share a particular tab, your entire screen or a window. Sharing just a window will allow you to share just multiple tabs you have open if you have more than one presentation or document whilst allowing you to continue working on your computer.

More information including how to take over presenting from someone else can be found here.

Muting a class

If you wish to mute your class, you will need to click on the “People” icon. In the People settings you will see the “All Muted” option, click on this and a toggle option saying “Let everyone turn on their microphone” will come up. Toggling this will disable your students to turn their microphone back on. To let your students have their microphone back on, you will to toggle this back on so they can enable their microphone again.

More information including how to muting a class can be found here.

How to record and transcribe

To record in Google Meet, you require Google teaching license and the host of the Google Meet to be able to record. In the Google Meet. By clicking the 3 dots in the bottom task bar, you click on “Manage recording” then adjust the settings if you wish to transcribe the meeting or not. After click “Start Recording”. Once the meeting is finished, you can click “Stop recording” or end the call. The recording will automatically save into your Google Drive.

More information including how to record in Google Meet can be found here.

Google Classroom is an online learning platform for schools and colleges that aims to simplify creating, distributing and marking assignments in a paperless way. Google Classroom is designed to help students and teachers communicate, collaborate, organise and manage assignments, go paperless, and much more! Classroom also seamlessly integrates with other Google tools like Google Docs and Drive.

Improved Communication – Teachers can create assignments, send announcements, and instantly start class discussions. Students can share resources with each other and interact in the class stream or by email. Teachers can also quickly see who has or hasn’t completed the work, and give direct, real-time feedback and grades.

Better Organisation – Students can see assignments on the To-do page, in the class stream, or on the class calendar. All class materials are automatically filed into Google Drive folders.

Read more

With Google Sites, you can quickly create a website to gather a variety of information in one place – including videos, calendars, presentations, attachments, and text – and easily share it for viewing with your class, course or the entire college.

Creating a web page using Google Sites is as simple as writing a document, and you can easily embed Google Docs, Slides and YouTube videos to develop interactive websites.

You can access the new Google Sites by logging into Google Sites and then select “Create”.

Read more

Kahoot! is a game based classroom response system allowing a full class to play quizzes and take surveys in real time.


Flipgrid is an educational social media that allows students to record and share short videos with you and the class. A brilliant tool for any class, especially language classes.


Flipgrid is a great example of the Social Learning model. It’s easy to create an online discussion between everyone in a class and because the students need to record videos, they speak thoughtfully and plan their responses. Students can also reply to others in the class using videos or images for a full, controlled, educational social media experience.

The best bit? It’s free for education! There is even a comprehensive Flipgrid Educator’s Guide available that starts at creating an account then goes through managing grids, collaborating and other innovative ways to use Flipgrid.