Adobe Capture is a fantastic app that enables you to find fonts and colours or create a vector simply by taking a photo.
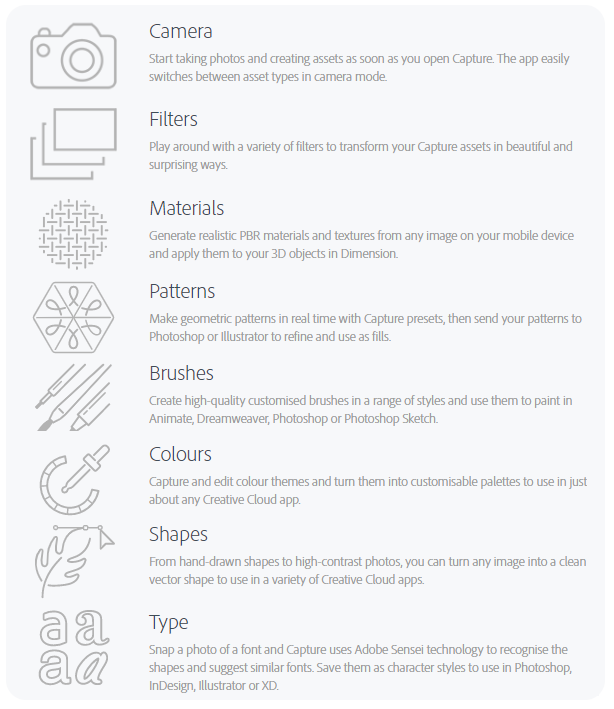
Use your mobile device as a vector converter to turn photos into colour themes, patterns, type, materials, brushes and shapes. Then bring those assets into your favourite desktop and mobile apps — including Adobe Photoshop, Illustrator, Dimension, XD and Photoshop Sketch — to use in all your creative projects. FAD have a quick run through on Capture that you can see here.
Identify Typography
Find your perfect font using Adobe Capture. Take a photo of the type you like (in a magazine, on a label, a sign, anywhere!) and watch a list of similar Adobe Fonts magically appear.
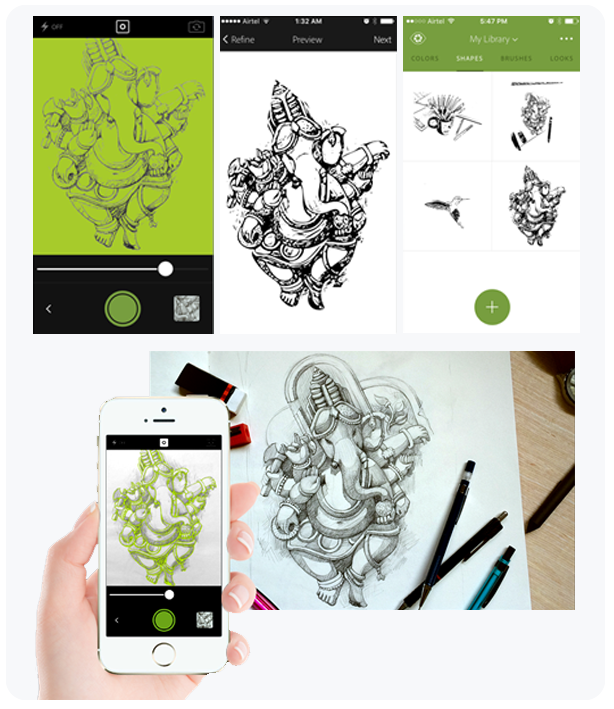
Vectorize on the Go
Create vectors instantly with Shapes. Turn images into smooth, scalable vectors with 1-32 colors, for use in logos, illustration, animation, and more. Point and shoot at your drawing or upload a photo and watch it transform into clean, crisp lines.
Create Color Themes/Gradients
Designers, rejoice! Looking for customized color palettes? Find an inspiring gradient? Aim your camera at the scene that has the colors you want and capture them to use in your artwork.
Craft Intricate Patterns
Capture inspiring images and generate patterns with Capture preset geometrics. Easily create beautiful, colorful patterns that fit with your creative projects by using your vector shapes with our precision pattern builder.
Build Beautiful Digital Brushes
Can’t find the right brush? Take a photo or use an image to create digital brushes that match your creative vision. Use your brushes in Photoshop or Illustrator for rich painterly effects.
Generate 3D Textures
Generate realistic PBR materials for use in 3D design straight from the camera. Modify your materials for even more texture or blend the edges for seamless repeat tiling on your 3D objects.
Capture Light and Color
Collect light and hue to turn into beautiful color grading profiles for your images and videos with Looks. Record the magic of a sunset and transfer that feel to use in your photos and video projects.
Seamlessly Sync Creative Elements
All your assets save to Adobe Creative Cloud libraries. Instantly access your digital elements from your Creative Cloud account in all compatible applications.
Blogger is Google’s free blogging service, probably the most famous blog service in the world. Whether you’d like to share your knowledge, experiences or the latest news, create a unique and beautiful blog for free.
It’s so simple to get started with Blogger, follow the steps below to start your first blog. Before you do get started though, it’s worth noting that Blogger will only work in Chrome, Firefox, Opera or Safari browsers so if you’re using Internet Explorer or Microsoft Edge, you’ll need to get yourself one of the other browsers listed here. Also, your blog can either be Public for anyone in the world to see or Private where you can limit it to a maximum of 100 people to view it. If you want more than 100 people to be able to view it but don’t want it to be public to the world, it might be best creating a Google Site and adapting it into a blog instead.
If you are creating a blog for a personal reason, it might be best to create it using a personal Google account as you may lose access to your blog when you leave Barton.
This can be anything you want it to be, as long as no one has used that same URL before.
Choose a template.
Click Create blog.
That’s your blog created and ready for content!
Blog Theme
A plain blog might look a bit boring, there are a couple of ways you can change the design of your blog to make it look a bit better. Blogger provides a range of pre-made template themes for you to choose from. Follow the steps below to take a look:
In the left menu, click Theme.
Click the theme you want to use.
Just below the theme, click Apply to Blog.
Now you’ve picked the theme, you can customize it further by simply selecting the Customize option at the top of the page. From here you can change the background, colours, sizings and all sorts of settings. Once happy, click Apply to Blog in the top right corner, to make your changes live. Click Back to Blogger to go back to the homepage.
Layout & Gadgets
The layout of your blog might be something you want to change once you’ve got a bit more content on your blog, it can be hard to decide on a layout before you start adding content.
Gadgets are extra little bits to add to your blog, you can add lists, individual images, links to Wikipedia articles and more!
To start with both Layouts & Gadgets, just click the Layout menu on the left hand side.
In here you can move the different areas around and find a layout that works best for you. To add a gadget to a certain location click the Add Gadget button and then take a look through the list to find one you want.
Pages
You can add pages to keep information separate, such as an ‘About’ page or a ‘Contact’ page. There is no limit to the number of pages you can have on one blog. Before they will show on your Blog, you will need to add the Pages Gadget to allow users to navigate around the blog. Follow the steps below to add the Pages Gadget:
In the left menu, click Layout.
In the section you want your pages to show, click Add a Gadget.
In the window, next to “Pages”, click Add .
Set your settings and click Save.
At the top right, click Save arrangement.
Adding, editing or removing a page
In the left menu, click Pages.
Create a new page: Click New page. Enter a page title and other information and click Save, Preview, or Publish.
Edit a page: Under the page you want to edit, click Edit. Update your page and click Save, Preview, or Publish.
Delete a page: Under the page you want to remove, click Delete then Ok.
Link to external site
You can get a link on the Pages Gadget to link an external site, such as a YouTube channel or other website.
In the left menu, click Layout.
In the “Pages” section, click Edit .
Under “Pages to show,” click + Add external link.
Enter the page title and URL and click Save Link.
Select the pages to show
In the left menu, click Layout.
In the “Pages” section, click Edit .
Select the pages you wish to show.
Click Save.
At the top right, click Save arrangement.
Posts & Content
Write a new post
Click New Post.
Create the post.
Optional: To see how your post will look, click Preview.
To save your post without publishing it, click Save. To publish your post, click Publish.
Labels
Labels can help you organize your posts to make it easier to find posts of a similar subject. You can create a label for anything, such as a month or year or just any word.
You can add more than one label to a post.
In your dashboard, you can find your labels next to the title.
Your readers can find your labels in your posts and use them to filter your content.
Add labels to your posts (Optional)
To open the editor view, click an existing post or click New post.
Click the From YouTube tab to search YouTube for a video or paste a YouTube link in.
Access to your blog
You can control who can edit your blog, and who can read it. It’s worth noting that your blog can either be Public for anyone in the world to see or Private where you can limit it to a maximum of 100 people to view it. If you want more than 100 people to be able to view it but don’t want it to be public to the world, it might be best creating a Google Site and adapting it into a blog instead.
Let others edit your blog
In the left menu, click Settings Basic.
Under “Permissions,” find “Blog Authors” and click Add authors.
Enter the email address of the person you want to add.
Click Invite authors.
Who can see your blog
In the left menu, click Settings Basic.
Under “Permissions,” find “Blog Readers” and click Edit.
Select Public, Private – Only blog authors, or Private – Only these readers.
Click Save changes.
After they accept the invitation, they’ll be listed as an author. You can add up to 100 total members (authors, administrators, or readers) to your blog.
Google Classroom email notifications can be a bit overwhelming, particularly if you have been added as a teacher on additional classes. In this article, we take a look at a couple of ways you can better manage email notifications you receive from Google Classroom.
Turn Google Classroom notifiactions on or off
Notifications about comments or submissions of student work in Google Classroom are enabled by default. Each one will generate an email message which can soon add up if you have been added as a teacher for a large number of classes. You can change these notification settings at any time. To do this simply follow the instructions in Turn notififcations on or off or watch the video below to find out how.
Create a Gmail filter for Google Classroom Notifications
Instead of turning off Google Classroom notifications, you might want to keep receiving these notifications but just better organise them in your Gmail account. This can be acheived through creating a filter in Gmail to automatically label and organise Classroom notifications for you.
Click the Down arrow in the search box at the top.
In the From field enter @classroom.google.com as your search criteria. If you want to check that your search worked correctly, see what emails show up by clicking Search.
At the bottom of the search window, click Create filter.
Choose what you’d like the filter to do. We recommend the following options:
Skip the inbox (Archive it) to keep these messages but remove them from your main inbox;
Apply the label> New label to add and apply a new label called Google Classroom to these messages;
Also apply filter to maching conversations to organise existing classroom notifications.
Click Create filter.
https://my.barton.ac.uk/digital/wp-content/uploads/sites/4/2020/03/Google-Classroom-Notifications-2.jpg10801920Peter Hornerhttps://my.barton.ac.uk/wp-content/uploads/2018/06/LOGO-BP-COLOUR-1030x273.jpgPeter Horner2020-03-26 11:27:512020-04-21 22:24:53How to manage Google Classroom email notifications
Adobe Scan is a mobile document scanner that can turn anything into an Adobe PDF.
With Adobe Scan, easily capture and convert documents, forms, business cards, and whiteboards into high-quality Adobe PDFs. And with different capture modes, you can ensure that you capture the clearest scan every time.
Fast and easy signatures and form filling.
Eliminate the hassle of finding a printer, filling a form by hand, and scanning it again. Use Adobe Scan to turn paper forms into interactive digital documents you can easily fill out, sign and share.
Intelligently cleaner and clearer scans.
Using Adobe Sensei, Adobes powerful AI, Adobe Scan identifies and sharpens handwritten or printed text, while removing elements you don’t want, like glare and shadow.
Share scans from anywhere.
Scans are stored in Adobe Document Cloud so they’re easy to access, share, or upload directly into emails.
Using Adobe Scan and Google Classroom
The video below will quide you through installing the app and uploading your first scan to Google Drive, which you’ll then be able to upload to Google Classroom.
We’ll take you through the steps below too:
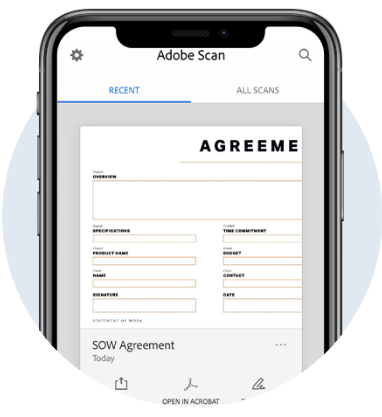
Open the Adobe Scan app.
Press the Camera icon.
Place what you want to scan in view of your device camera.
Wait while the app detects the page and content, when it’s done that it will automatically take an image of it.
When the image has been taken, you can drag the borders around the page to more accurately outline a page.
Once happy with the image, press Continue.
Repeat steps 3-6 until you have scanned everything that you need to.
Press the small image of your last scan in the bottom right corner.
Scroll through the pages and make any visual adjustments you wish.
You can crop out unwanted bits, reorder the pages or change the coloring to make it easier to read. You can also use the Cleanup feature to remove unwanted blemishes in the image.
Once happy, press Save PDF.
The app will now prepare the final PDF for you.
Now to upload this to Google Drive.
On the screen with your PDF, press Share.
Press Share a Copy.
Locate and press Save to Drive or Google Drive.
Enter a name for the file, select which account to save it to and where to save it then press Save.
Now to add to Google Classroom.
Open the class you want to upload this to in Classroom.
Locate and open your assignment.
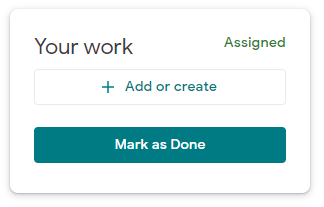
Click on Add or create.
Select Google Drive.
Locate and select your new PDF.
If you have just uploaded it, you should find it easily in the Recent tab.
Click Add.
Now, if that’s all you need to do for that assignment you can hand it in.
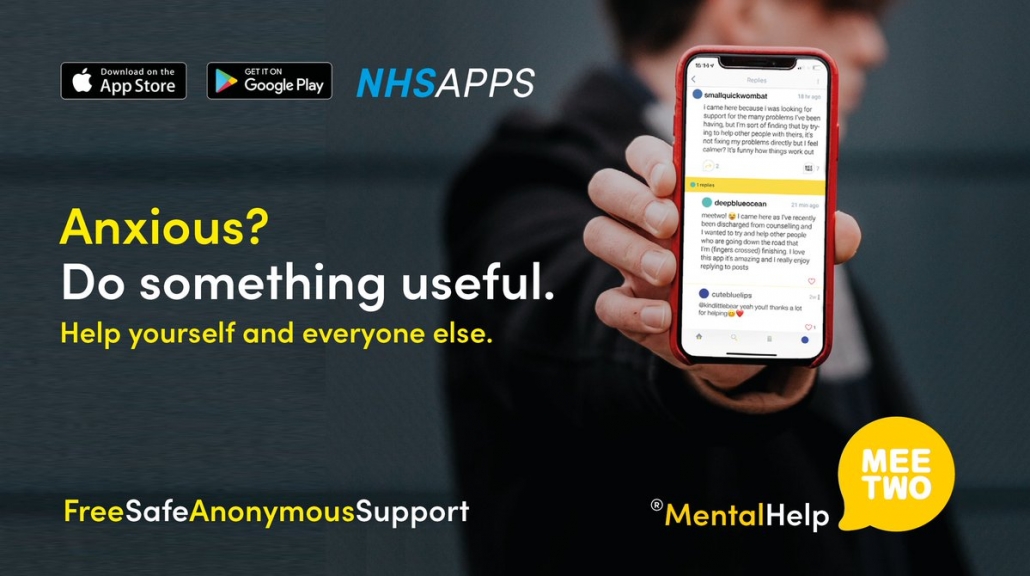
MeeTwo provides a safe and secure forum for teenagers wanting to discuss any issue affecting their lives.
If you’ve ever wanted to be able to ask difficult questions without the embarrassment that comes attached then Mee Two is the ideal solution. It’s recommended by the NHS in their Apps Library.
Mee Two is a completely free app available on the app store and google play that enables you to ask 100% anonymous questions and talk about difficult topics with people who have had similar experiences. Basically any question you would rather not ask out loud you can ask here.
All posts and their replies are checked so there is no chance of any bullying or harassment happening over your experiences.
MeeTwo has been designed by young people for young people. It has the support of experts and schools across the UK.
Please remember MeeTwo cannot provide medical or crisis support.
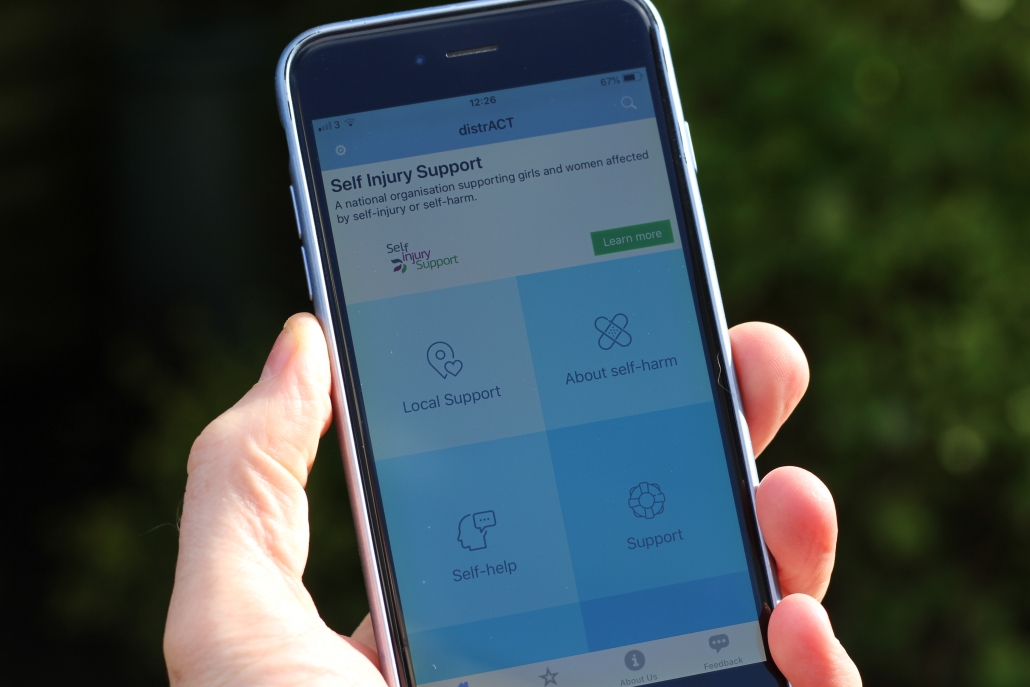
DistrACT gives you easy, quick and discreet access to information and advice about self-harm and suicidal thoughts.
The content has been created by doctors and experts in self-harming and suicide prevention. DistrACT also provides emergency contact numbers of the best people to call and talk through your symptoms. It is available from the app store and google play for absolutely no cost.
DistrACT won the British Medical Association ‘Patient Information Award 2019’ for wellbeing. It’s recommended by the NHS in their Apps Library.
The app offers total privacy and can be used offline to:
find out about self-harm and suicidal thoughts
discover self-help techniques and safer alternatives to self-harms
explore the ‘chill-zone’ with links to resources that can make you feel better, such as films, books and online videos
access details about available services and support – all in one place
know what do do in a crisis or emergency
Users can feel safe and secure because no sign-up is required, and the app does not collect any personal data.
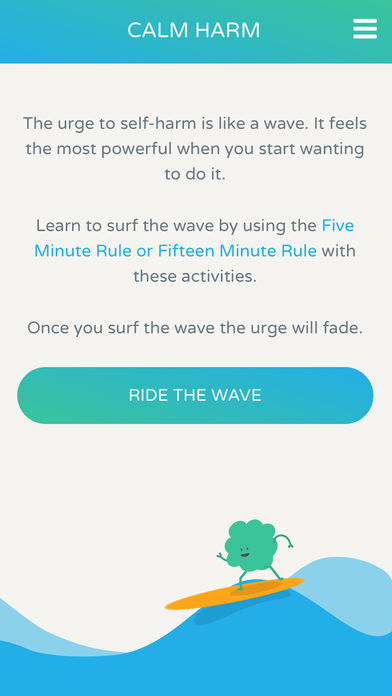
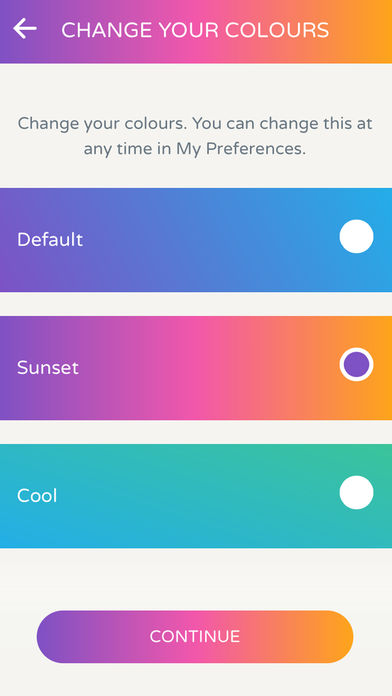
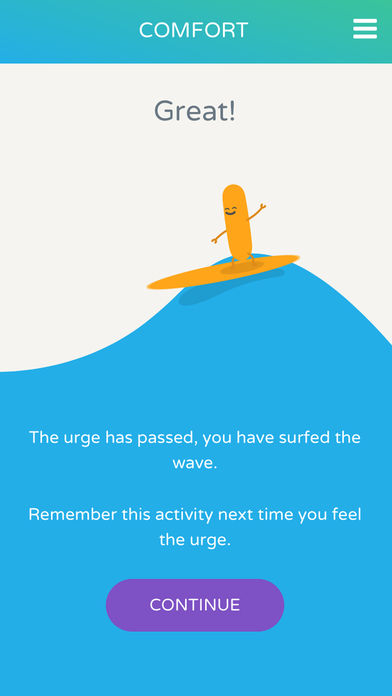
Calm Harm is an app designed to help people resist or manage the urge to self-harm. It’s private and password protected.
Calm Harm is based on the principles of dialectical behaviour therapy (DBT). DBT is a type of talking therapy that’s often effective in people with mood disorders. It’s recommended by the NHS in their Apps Library.
The app provides tasks that encourage users to distract themselves from urges to self-harm and help manage their “emotional mind” in a more positive way.
You can personalise it if you wish, by choosing the background colour theme and deciding on whether you would like some company using a variety of friendly characters.
The app then provides you with four categories of tasks to help you surf the urge. ‘Distract’ helps in learning self-control; ‘Comfort’ helps you care rather than harm; ‘Express yourself’ gets those feelings out in a different way and ‘Release’ provides safe alternatives to self-injury.
There is also a ‘Breathe’ category to help calm and get back in control.
You can do the activities for either blocks of five minutes or fifteen minutes with a countdown for each minute. You will be able to track your progress and notice change*.
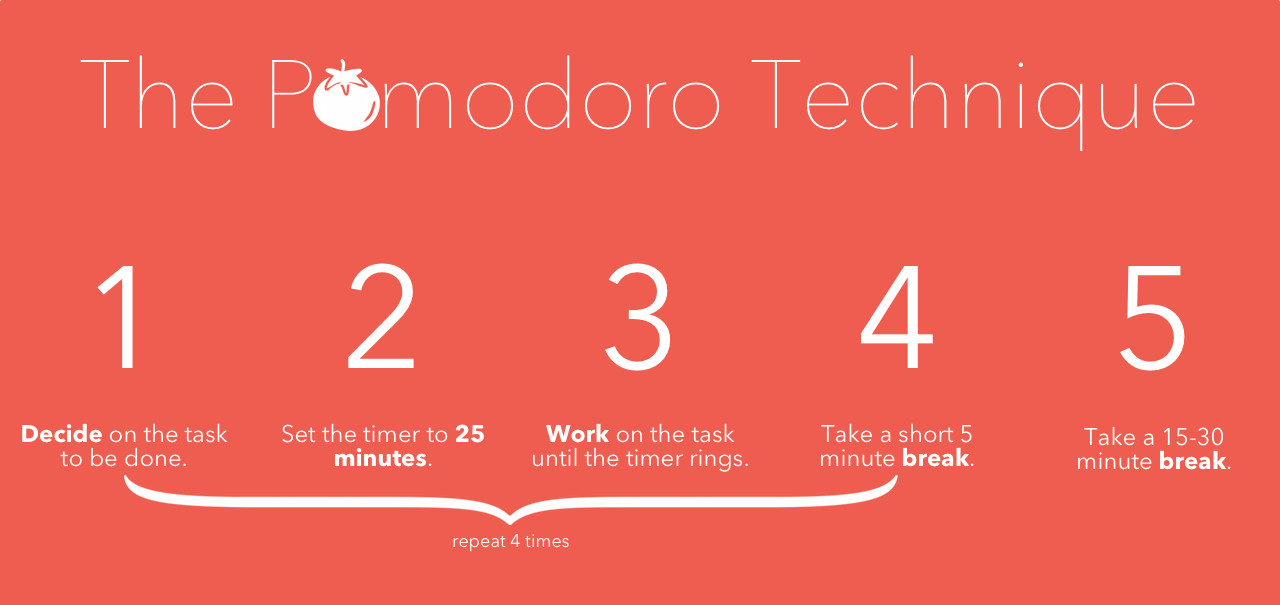
Pomodoro is a time management technique designed to minimise anxiety and maximise your efficiency.
Basically it involves 25 minutes working sessions, followed by a 3 to 5 minutes break. After each 4 Pomodoro sessions, take a longer break of about 15 to 30 minutes. This has been scientifically proven to boost work morale/efficiency as it helps to prevent you from getting burnt out on your work and becoming distracted.
It’s a great technique and in a way it rewards you for working, you know that once you’ve done 25 minutes of work you can have a 5 minute break to play on your phone or whatever you want to do. Then once you’ve done a couple of sessions you can have a longer break.
It all started from a Tomato shaped kitchen timer that the creator used when he was in University. There are a few different websites or apps you can use for the Pomodoro Technique, or even a kitchen timer if you have one. Just start by searching ‘pomodoro’ on your device app store.
Hangouts Meet is Google’s video conferencing tool that also allows you to share your screen with attendees.
Hangouts Meet is Google’s video conferencing tool that enables you to take part in an online lesson. Lesson content can be shared with you in a live video stream as if you were in a physical classroom. You can use it on the web at meet.google.com, on your Android device and on iOS devices.
Before you start please ensure you follow our video conferencing etiquette guide to ensure your classmates are able to learn in a fair environment without interuption.
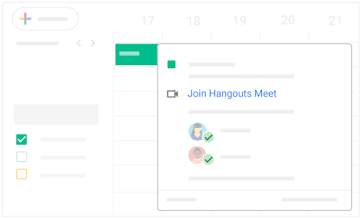
Joining a video meeting
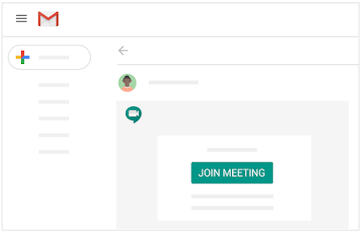
Joining a video meeting can be done in a number of different ways depending on how it’s been set up. But most likely you’ll just need to check your lesson in Google Classroom where your teacher will put a link for the video meeting, if you simply click that link you will be taken straight in to the digital lesson.
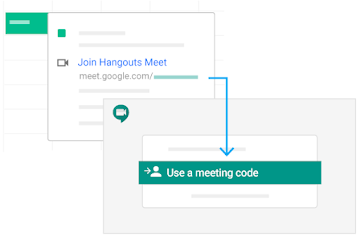
If your teacher has created a video meeting in a different way, there are other ways to join. You can click the link in your calendar appointment, or your meeting text or email. You can type in the meeting code on the Hangouts Web website or even dial in to the meeting on a physical phone so you can still hear what is being said if you don’t have access to a computer.
Calendar Appointment
Email Link
Meeting Code
Phone Dial In
Change your computer’s Video & Audio settings
Meet will pick up your default camera, speaker and microphone which in most cases will be the only ones you have however if you plug in alternative devices to use instead, it should then automatically pick these up instead of any built-in device.
More information can be found here and steps for changing the settings within the mobile apps can be found here.
https://my.barton.ac.uk/digital/wp-content/uploads/sites/4/2020/03/HangoutsMeet.jpg332712Will Taylorhttps://my.barton.ac.uk/wp-content/uploads/2018/06/LOGO-BP-COLOUR-1030x273.jpgWill Taylor2020-03-20 10:23:442020-05-03 22:18:25Google Meet – Students
BBC iPlayer lets you watch BBC content from your computer, Smart TV or mobile device.
BBC iPlayer isn’t just for catching up on last night’s Eastenders or rewatching Gavin & Stacey for the 17th time, you can also find a lot of educational material in its depths. You can watch the latest episodes of QI to learn more quirky facts about the world or explore the hundreds of episodes of Science and Nature documentaries. There’s also great comedy and entertainment shows for when you have finished your work for the day and need to relax.
Don’t forget though that some episodes are only available for a limited time and can be removed from iPlayer at any time.
You can look through all the episodes and series available for each subject on the BBC iPlayer website or click one of these categories; History, Documentaries, Science & Nature, Music.