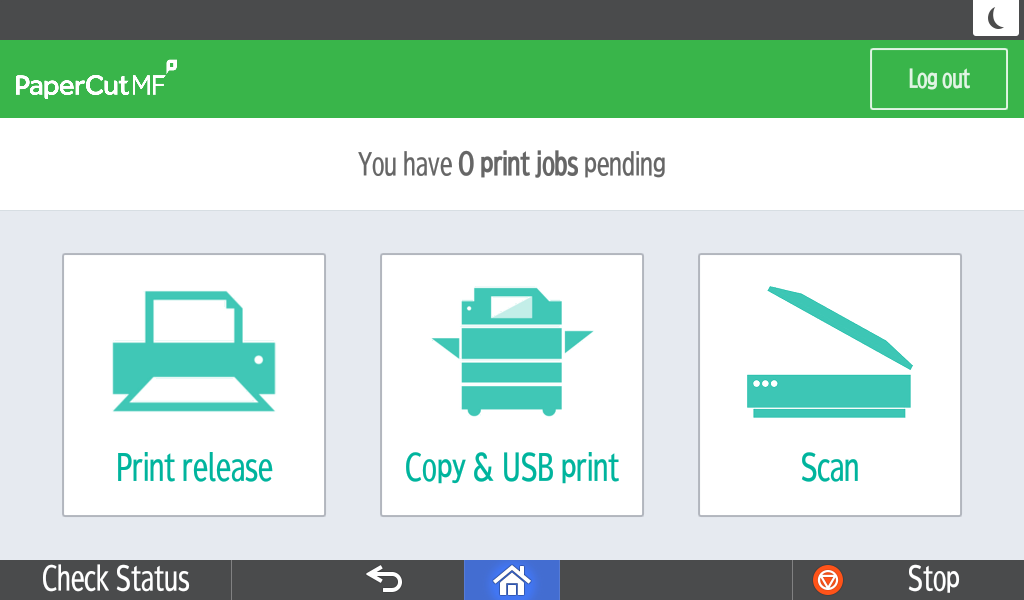
Log in to the PrinterPool machine using your ID card or by typing your details and choose Scan from the three icons presented to you.
This will take you to a screen where you can choose your scanning location: either your college Google Drive account or email address. We recommend that you scan to Google Drive as your file is then ready to share with others or be used in Google Classroom. Scanning to Drive also allows you to create scanned documents with larger file sizes.
Once you’ve selected your destination, you’ll see a screen showing the filename of the document (which you can edit) and either the folder in Drive where the file will be placed or your destination email address. In the sidebar, there is a summary showing the default settings. If you are happy with these, you can go ahead and tap Start scanning.
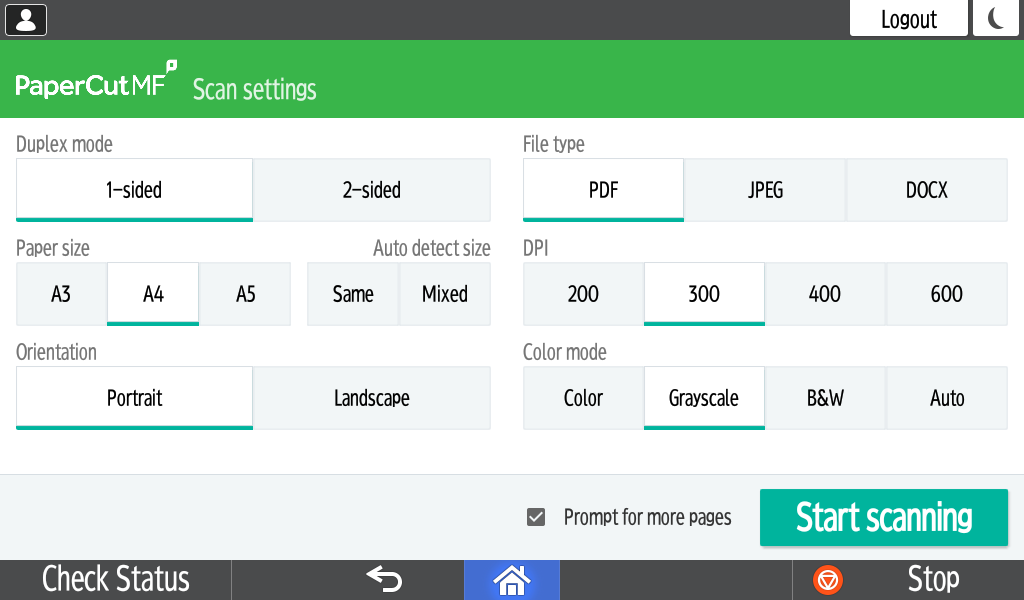
If you need to change the settings, for example, to a 2-sided original, then tap Settings. Here you will see all of the options available to you on one screen for you to make your changes as necessary.
You can either place your original document on the glass or in the automatic feeder. Before the scan is sent, you have the option of adding additional pages by tapping Scan more pages. Make sure you place your original first as the machine will scan the next page(s) as soon as you tap the on-screen button. You can also start scanning another document from this screen by tapping Scan new document.
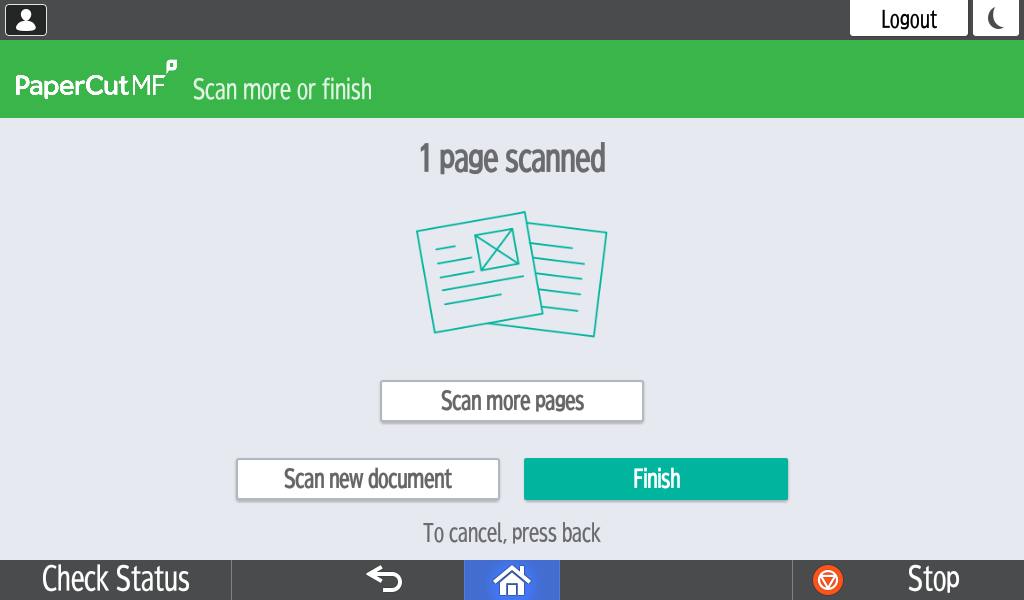
When you’ve finished, tap Finish and then Logout. Now check your college Google Drive or Gmail inbox. In some cases, there may be a small delay in the file arriving while the scan is processed.
Please be aware that if you are scanning to Google Drive for the first time, you will receive an email asking you to authorise PaperCut to access your Google Drive. Once you’ve done this, your scan will appear in the Scans for PaperCut MF folder in Google Drive. All subsequent scans will be sent straight to this folder – you won’t have to authorise access every time.
One final point to note is that if you’ve chosen PDF as the filetype and scanned multiple pages, all of the pages will be added to the same PDF file. If you’ve scanned multiple pages to JPEG, each page will appear as a separate file.