This how-to is for users who need to be able to move large files between a computer at home and a computer at college – which in the past has been an issue as different computers use different filesystems; A mac can read a PC’s NTFS-formatted drive, but can’t add any files to it without extra software, and a PC can’t read a mac’s HFS+ formatted drive full stop.
To clarify – by large file, we mean a single contiguous file that is over 1 gigabyte in size. For all other files, you will probably find that using Google Drive works the best!
To make sure that you can both read and write to your external storage from a PC, a mac, or a Linux workstation, follow the steps below when you plug your external storage in for the first time.
Please note, this operation is destructive to existing data on the device – if you’ve already got stuff on there, you might lose it as a result of this method; what we’re doing is setting the storage up for use, essentially destroying it and re-creating it from scratch with extra settings that make it work on Windows and OS X and Linux.
If you’re going to reformat and repartition your storage device please read the instructions, carefully, twice.
We cannot accept responsibility for any private data lost as a result of this operation.
FROM A PC RUNNING WINDOWS 7 OR LATER;
Make sure your external drive is plugged into your computer and seen by Windows – you’ll be able to see it in My Computer. This process is the same for USB sticks, SD Cards and external HDD/SSD drives. We recommend using an external SSD drive over all other options.

Right-click and find the “Format” entry in the context menu.
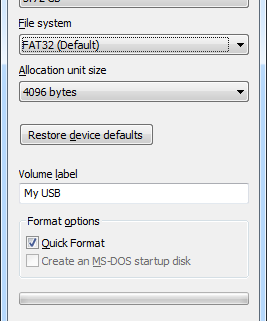
The window that pops up will most likely have FAT32 selected by default.
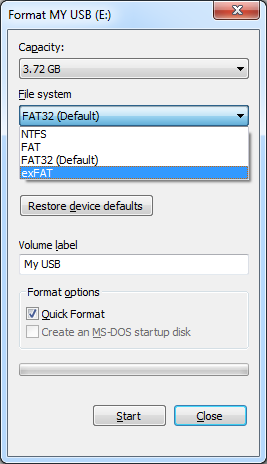
Instead, choose exFAT from the menu, clicking ‘Start’ when you’re done, it may take a minute or two. When finished, your new ExFAT volume will be available to use.
FROM A MAC RUNNING OS X 10.9 MAVERICKS OR LATER;
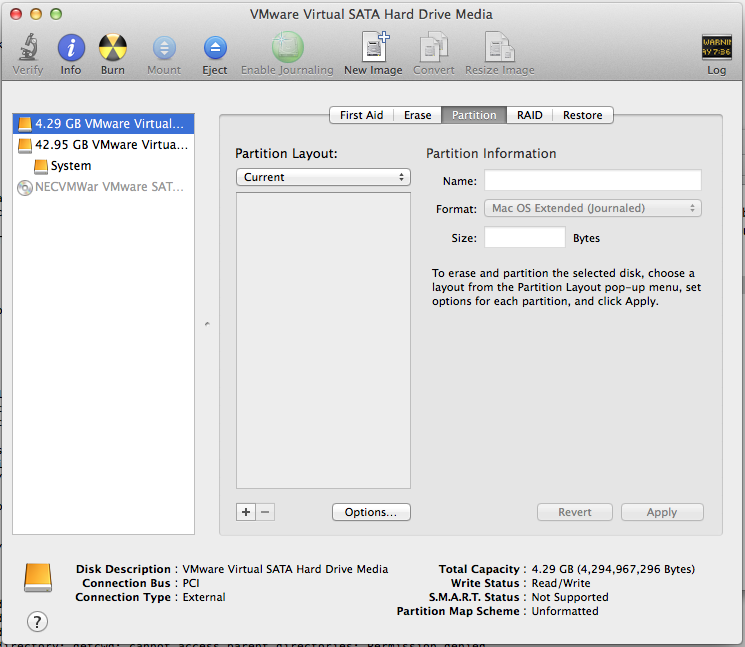
Plug in your storage and dismiss any notifications that come up. Using the Finder, go to /Applications/Utilities and double-click Disk Utility.app. Your storage will show up in the list on the left side of Disk Utility – make sure you click on it once to highlight it – you don’t want to go formatting the wrong disk!
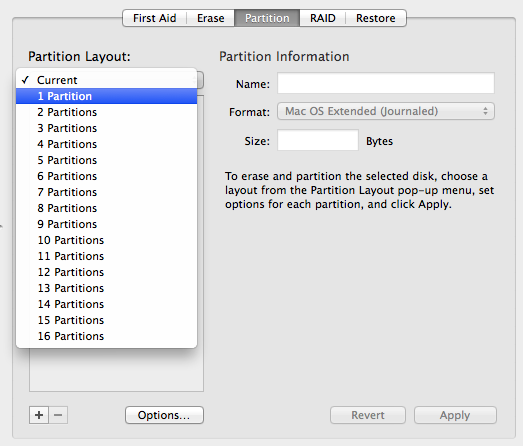
With your storage disk selected, click on the Partition tab, feel free to have more than one partition [partitions show up as separate disks on the same physical unit] – in this case we’ll keep it simple and have a single partition.
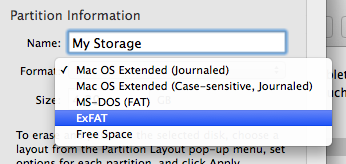
Next, give it a name, and choose ExFAT from the Format drop-down.

Then, hit Apply.
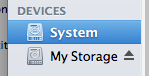
When you’re done, your new volume will show up in the Finder’s Sidebar!