You may have already noticed that when printing from a Chromebook, there are no options to choose a paper tray or select stapling and hole punching. Unfortunately, it’s not currently possible to have these options show up with the other preferences on the PrinterPool printer, but worry not, as we have some workarounds in place so that you can still do all three. Here’s how…
Stapling and hole punching
With some work behind the scenes, we’ve created three new PrinterPool queues, each with a different combination of stapling and hole punching assigned by default. The available options are now…
PrinterPool – the regular queue as it was before with no finishing options applied
PrinterPool (Staple) – the same options as the regular queue, but with a single staple in the top corner of the page
PrinterPool (Hole Punch) – as the regular queue, but with a two-hole punch on the long edge of A4 or short edge of A3
PrinterPool (Staple & Hole Punch) – as the regular queue, but with both the staple and a hole punch options applied
If you print to any of the three special queues, you will not see any options for changing the stapling or hole punching settings as these are being applied in the background after you have printed the document. Likewise, there is no way to remove this preference after you have pressed print, so if you use the wrong printer, you will need to cancel your print and submit it again.
If you can’t see any of these installed as printers on your Chromebook, you may need to press See more… under the list of printers in order for them to appear.
Choosing a paper tray
The workaround for printing to a particular paper tray from a Chromebook is a little more difficult. You only really need to choose a tray if you’re printing on heavier paper, such as the Art premium paper. For normal copier paper, the machine will automatically detect size and rotation changes for you. To choose a tray…
- Save your document as a PDF from your Chromebook onto a USB drive
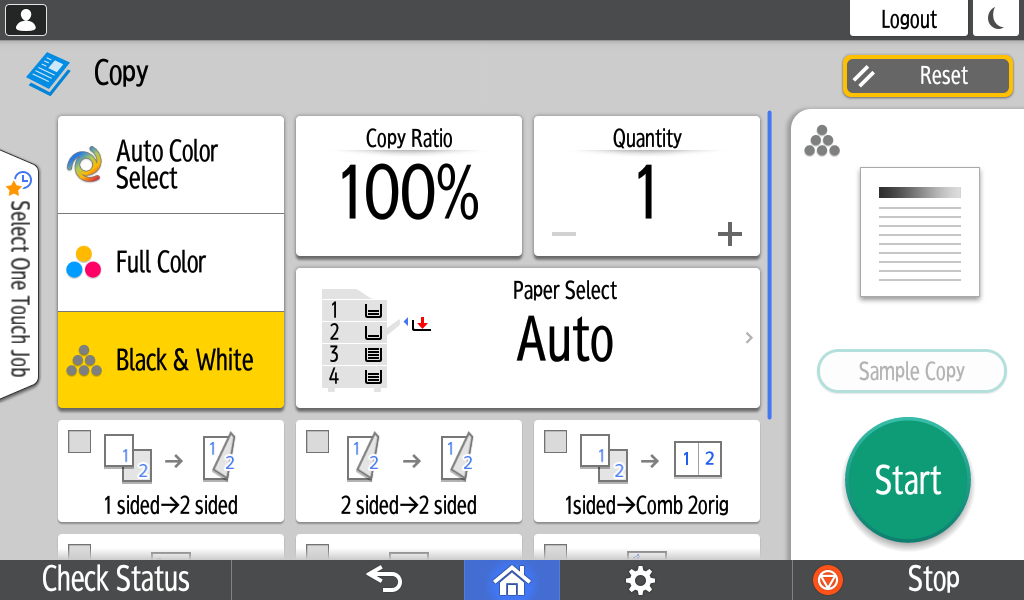
- Log in to a printer and tap the Copy & USB print icon. Then open the Print/Scan (Memory Storage Device) app from the homescreen.
- Choose Print from Storage Device and then insert your USB drive into the USB port on the upper left-hand side of the touchscreen panel
- Select the PDF document to print and then tap Print Settings. From here, you can set up all of your normal print options, including the paper tray.
- When you’re ready, tap the green Start button
You can, of course, still hop on to a Windows PC to do your printing where all of these options are available from within the print preferences.